the little a bottom half. I also used the select tool to copy a hand and placed it on another little girl. I then cropped the image and added a black border. The last tool I used was the Text tool .

 |
|
|
1.
What
is the purpose of the DODGE tool (part of the DODGE/BURN tool) lets you choose between three
modes: shadows, midtones, hinglights.(makes areas lighter.
|
|
2.
What
is the purpose of the BURN tool (part of the DODGE/BURN tool) makes light areas darker.
|
|
3.
Why is the DODGE/u drag around BURN
tool considered a drawing tool? Because it
uses a brush and lets you drags around the image.
|
|
4.
What is the purpose of the SMUDGE
tool? It away to get rid of simple problems by smudging
it out which picks up the color underneath
|
|
5. Briefly explain you get the CLONE to work: You hold down the ctrl key as you click on the area to
be cloned the start to cover up the area not wanted. Continuing to clone as
need.
|
|
6.
What is the purpose of the HEAL
tool? Combines the texture from the source layer
with color and lighting of the destination layer
|
|
7.
What is the purpose of the
PERSPECTIVE CLONE tool? Makes the clone angle to
show perspective once the mode is set.
|
|
8.
Briefly explain the two
purposes of the CONVOLVE tool: it’s a
blur/sharpen tool lets you change small regions of an image just by dragging
over them. The more you go over an area the more it will blur or sharpen.
|
|
9.
What is the purpose of the GAUSSIAN BLUR
filter? (NOTE: This is a FILTER, not a TOOL). It blurs
the area that is selected.
|
|
10.
Which tool would be the appropriate
tool to get rid of wrinkles on someone’s face? Clone
|
|
PART 2: GIMP PROJECTS:
|
|
2.
Click on the PHOTOS FROM THE BOOK
link, and scroll down to see the images for Chapter 6.
3.
Download and save all the Chapter 6 images.
4.
Use the appropriate images to touch
up the photos as indicated on pages
215 through248.
5. Insert these corrected images here (no need to insert all the corrected
images, just those indicated below):
 |
|
a. Tree with power tower gone and new
puffy cloud (instructions on pages
219-222):
|
 |
|
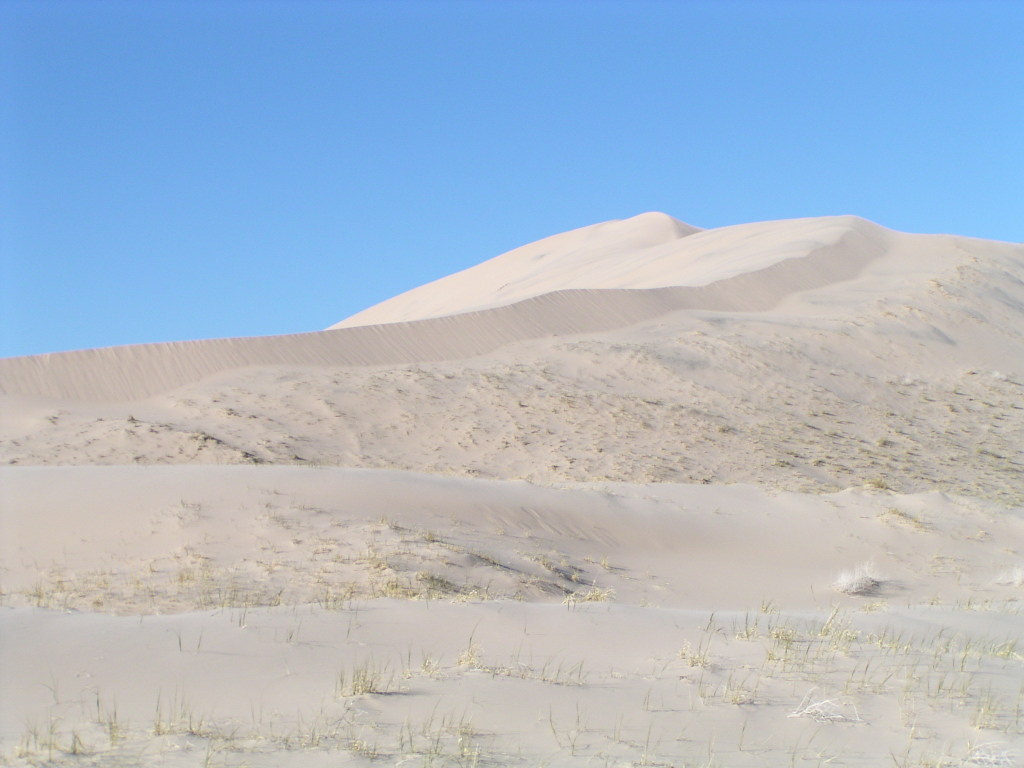
b. Canyon with cars gone (pages 223-231):
|
 |
|
c. Meer cat blurred (pages 242-243):
|
 |
|
d. Perspective tower with new windows
on the bottom (pages 237-240):
|
 |
|
e. Butterfly with blurred background (pages 45-248):
|


 |


Name:
|
Alina Cancel
|
Student Number:
|
1.
What
is a filter? Is a general term for anything that
can operate on an existing image
|
2.
What is the difference between a
TOOL and a PLUGI-N? tools can respond to clicks in the image window. PLUGI-N can only make adjustment within the plug-in's own dialog.
|
3.
What is the purpose of motion blur? Makes
a blur in only one direction, given an impression of movement.
|
4. Briefly describe the purpose of the following ENHANCE filters:
·
Antialias looks
for jagged edges and tries to make them look smoother.
·
Despeckle is
used to remove small elements of “noise” from an image.
·
Destripe removes
vertical limes that are left by some older scanners.
·
NL Filter Is
a combination of smoothing, despeckle,
and sharpen in one filter.
|
5.
Briefly describe the purpose of the
following DISTORT filters:
·
Blinds makes
it look like your image is painted on venetian blinds, and you’re adjusting
the angle of those blinds.
·
Curve Bend
is useful for changing the shape of nearly any layer.
·
Engrave creates
the black and white engraved look that you sometimes see in old
illustrations.
·
IWarp (Interactive Warp Filter) let you change the images giving it deformities.
|
6.
Briefly describe the purpose of the
following filters:
·
Polar Coords wraps an image around a point at the top or bottom center.
·
Ripple makes
an image look as though it’s being viewed through water waves.
·
Lens Flare is
a way of putting a bright flare of light into the image.
·
Supernovais similar
to Lens Flare but it makes flares with spike of rays.
·
Drop Shadow makes
a shadow tilted at an angle to show perspective.
·
Glass Tile makes
the image look like it’s been view through a wall made of many glass bricks,
each of which refracts light a little differently,
|
7.
Describe various ways the EDGE
filters are used in GIMP: Difference of gaussian, Edge, Neon, Laplace
|
8.
What does the FILMSTRIP filter do? Combines the layers in the image into a single image that looks like a strip of 35 mm film
|
9.
List and describe 5 filters found in
the ARTISTIC filters group:
a. Apply
Canvas gives a canvas-like texture to
the image
b. Cartoon simplifies colors and adds black outlines near edges
with intent of making a picture look like a hand-drawn in inked cartoon.
c. Predator turns image into something that should remind you of a
video game of the 80’s.
d. Softglow gives a “bathed in light”
impression.
e. Weave
gives an effect that the image has been woven onto a basket.
|
10.
What does the FRACTAL EXPLORER do? It makes fractal patterns.
|
11. What does ALPHA TO LOGO do? It creates interesting effects from a text layer.
|
PART 2: GIMP PROJECTS:
Be sure to save these images in your GIMP
folder before inserting them in this document.
|
||||||||||||||
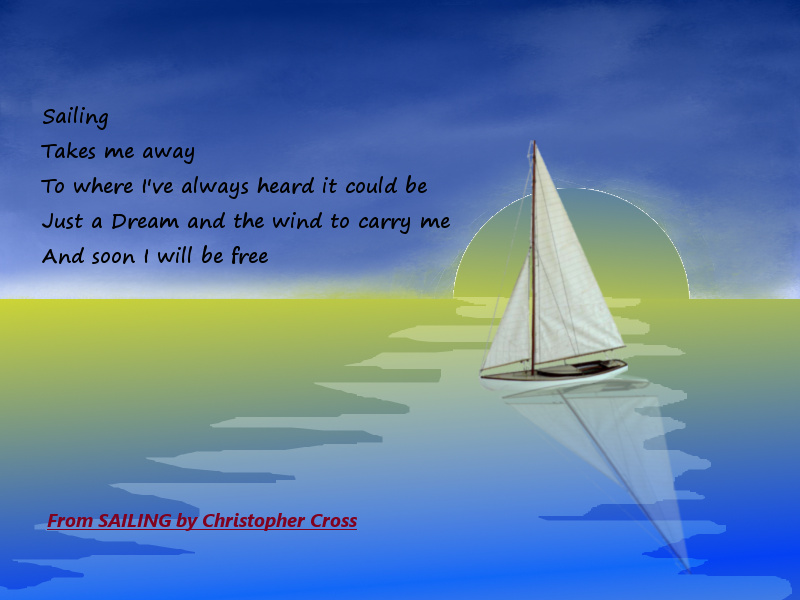
1. WARP text:
1.
Create a new GIMP image that is
600 X 400.
2.
Use the paintbrush, gradients, etc.
to create a lovely background.
3.
Click on the text tool (letter A),
and change the font, color (to coordinate with the background), change the
size to fairly large (at least 200).
4.
Type your first name in the text box
(this creates a new layer with your name on it).
5.
Warp the text: Make sure you are on
the text layer. Now: FILTERSàDISTORTSàBEND CURVE. Drag the base line up/down to make it wavy. Click on
PREVIEW ONCE to see the text distorted. When the text is distorted the way
you want, click OK.
6.
You can also add a Drop Shadow if
you like: FILTERSàLIGHT AND SHADOWàDROP SHADOW.
7.
Crop the image if needed, then save
the image.
8.
Insert your warped name image here:
|
||||||||||||||
 |
||||||||||||||
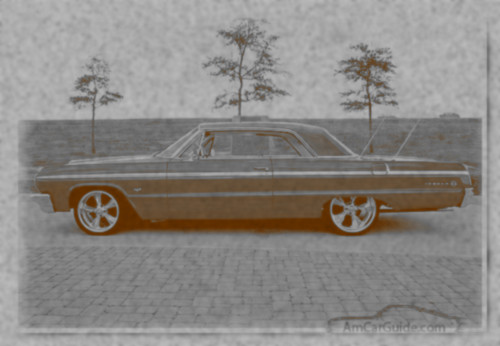
2. Filter Car Image:
2.
Look through the menus on the left
to see the supplemental information provided for you about the book.
3.
Click on the PHOTOS FROM THE BOOK
link, and scroll down to see the images for Chapter 2.
4.
Download and save the red car image
from Chapter 7 (or get a car image from Google that you like)
5.
Try at least TEN different filters
on the car image. Try to make the images as different and interesting you
can. Save each version with an
appropriate name.
6.
Insert the 10 filtered car images here:
|
||||||||||||||
|